


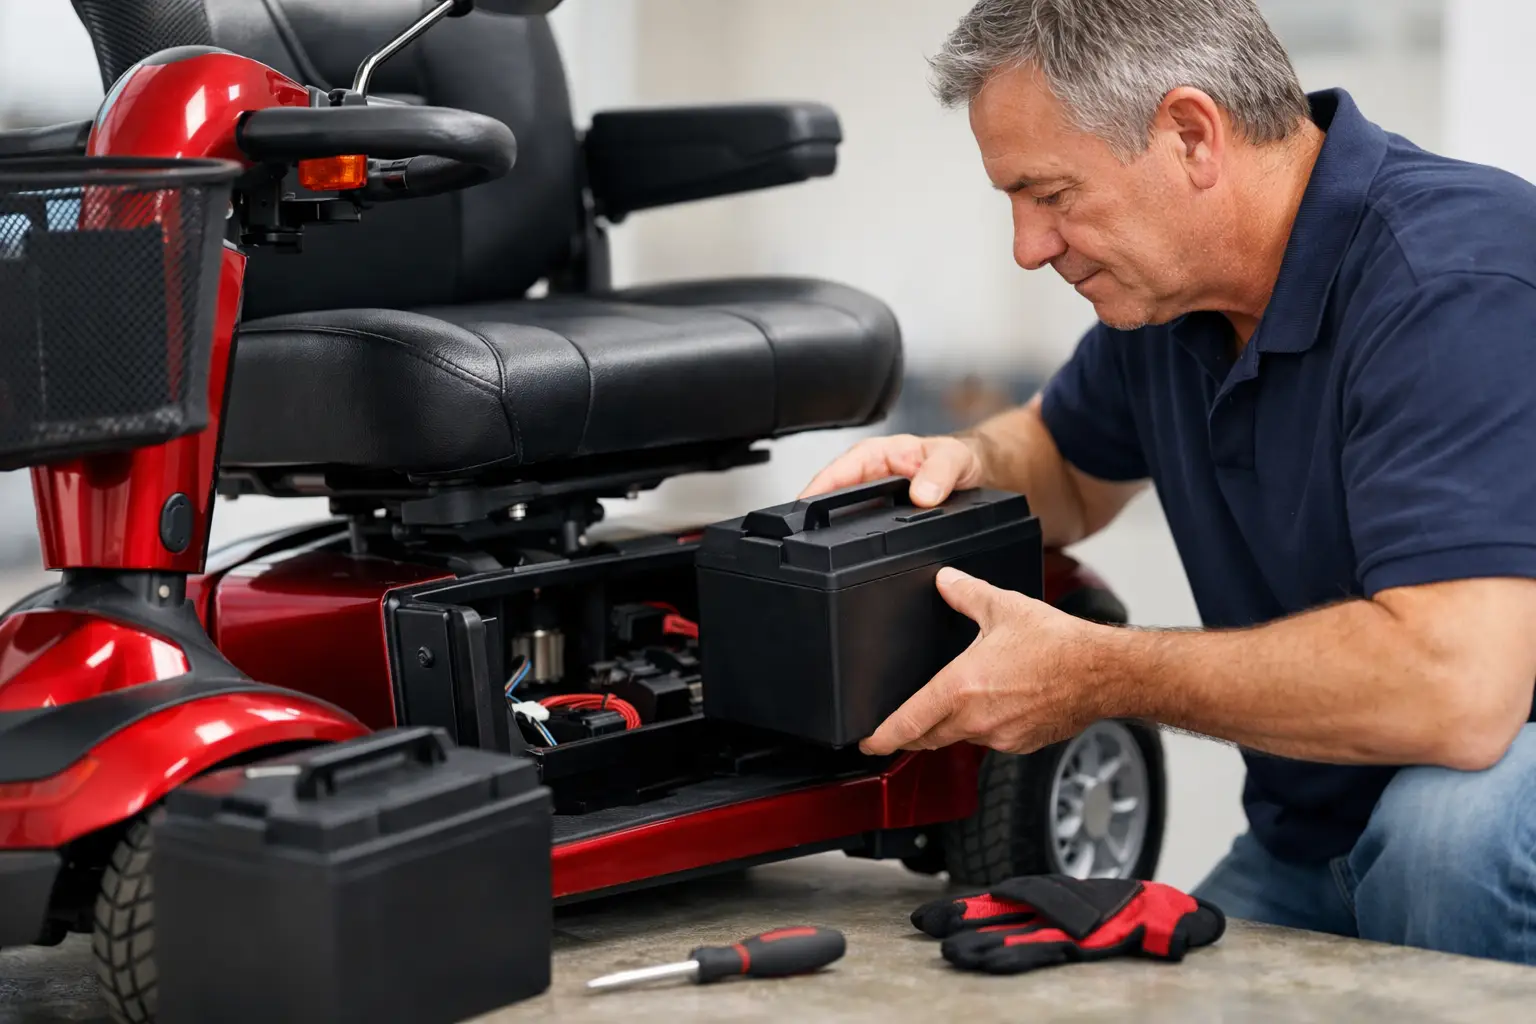
How to Replace a Mobility Scooter Battery
A scooter that slows down sooner than it used to, struggles on an incline or will not hold its charge can make even a short trip feel uncertain. Knowing how to replace a mobility scooter battery can restore the dependable range you need for visiting friends, getting to the shops or simply moving around with confidence.
For many scooters, this is a manageable job at home. The key is not rushing it. Batteries are heavy, connections must be fitted correctly, and the replacement needs to match your scooter’s voltage, battery type and physical space. If anything looks damaged or unfamiliar, a mobility specialist or service engineer can help.
First, check that the battery is the problem
A weak battery is common, but it is not the only reason a scooter may lose power. Start by fully charging the scooter with its usual compatible charger. Check that the charger lights behave as expected and that the charging socket is clean, dry and undamaged.
If the scooter still has a much shorter range, cuts out under load, or the battery case looks swollen, cracked or leaking, replacement is likely needed. Most sealed lead-acid scooter batteries last around one to three years, although regular use, storage temperature, charging habits and the weight carried can all affect their life.
A scooter that has been left uncharged for several months may have batteries that cannot recover. Equally, a faulty charger, loose cable or worn connector can look like a battery fault. It is worth checking these before buying replacements.
Choose the correct replacement mobility scooter battery
Do not select a battery based on appearance alone. Mobility scooters commonly use either two 12-volt batteries connected together, usually to create a 24-volt system, or one battery pack designed specifically for that model. The battery label, scooter handbook or existing battery compartment should show the details you need.
Match the voltage exactly. A 24-volt scooter must remain a 24-volt scooter. You should also match the battery chemistry recommended by the manufacturer. Most traditional scooters use sealed lead-acid batteries, usually AGM or gel types. These are designed for repeated deep discharge and are different from a standard car battery.
Capacity is shown in amp hours, written as Ah. A higher Ah figure can sometimes provide more range, but only if the battery fits the compartment, the scooter is designed to use it and the charger is compatible. A larger battery can also be considerably heavier, which matters if you remove it for charging or transport.
Lithium batteries are lighter and can offer useful range benefits, particularly for travel scooters. However, changing from lead-acid to lithium is not always a simple swap. The battery management system, charger, connectors and scooter warranty requirements all need consideration. Ask for model-specific advice before making that change.
When your scooter uses two batteries, replace both at the same time with matching batteries of the same brand, capacity and age. Fitting one new battery beside one older battery can shorten the life of the new one and lead to uneven performance.
What you will need before you start
Work in a dry, well-ventilated area with good light. Switch the scooter off, remove the key and take off any charger before opening the battery compartment. Keep metal jewellery away from the terminals, as a ring or watch can cause a dangerous short circuit if it bridges connections.
You will usually need a suitable spanner or socket, gloves for a secure grip, and perhaps a screwdriver depending on the battery cover. Have a mobile phone ready to take clear photographs of the wiring before you disconnect anything. That simple step can prevent confusion when reconnecting the new batteries.
If the batteries are difficult to lift, ask another person to help. Even compact sealed lead-acid batteries can be awkward and heavy. Lift with both hands, keep the load close to your body and avoid twisting.
How to replace a mobility scooter battery safely
The exact layout varies between car-boot, pavement and road scooters, but the process below applies to many models.
- Turn off and isolate the scooter. Remove the key, unplug the charger and make sure the freewheel lever is in its normal drive position. Open the battery box or lift the seat and shroud as directed in the handbook.
- Photograph and label the connections. Take a picture showing every cable, connector and linking lead. If the wiring is not obvious, add small labels such as positive and negative before removal.
- Disconnect the old batteries carefully. Remove the negative cable first, then the positive cable. This lowers the chance of accidentally shorting the positive terminal against the scooter frame or a tool. If there are two batteries, remove the linking cable after noting exactly where it sits.
- Lift out the old batteries. Keep them upright and place them on a stable surface. Do not put them in household waste or leave them where children or pets can reach them.
- Fit the new batteries in the same orientation. Check that the terminals are positioned as shown in your photograph. Make sure no cable is trapped beneath a battery or pinched by the compartment lid.
- Reconnect positive first, then negative. Refit any linking lead exactly as it was. Connections should be snug, but do not overtighten terminal bolts. Loose terminals can cause loss of power and heat build-up; overtightening can damage the terminal.
- Inspect before closing the compartment. Confirm that red cables connect to positive terminals and black cables connect to negative terminals. Check that the battery straps, covers and seat are securely back in place.
Never allow a tool to touch both terminals at once. Avoid smoking or using naked flames nearby, even with sealed batteries. If you see corrosion, melted wiring, liquid leakage or a burnt smell, stop and arrange professional help rather than fitting new batteries into a damaged system.
Charge the new batteries before relying on the scooter
New batteries are often supplied partly charged, not fully ready for normal use. Charge them with the correct scooter charger for the full period recommended by the battery or scooter manufacturer, commonly overnight. Do not use a car battery charger unless it has specifically been approved for your mobility scooter batteries.
After charging, test the scooter first on level ground close to home. Check the battery gauge, forward and reverse movement, and any lights or indicators. A short local journey is better than setting off on a longer outing before you know everything is working correctly.
It can take several charge and use cycles for new lead-acid batteries to settle into their best performance. For the first few outings, allow a sensible margin rather than planning a journey right at the edge of the quoted range. Hills, cold weather, tyre pressure, user weight and rough ground can all reduce the distance available.
Help your new batteries last longer
The simplest habit is to charge after regular use, rather than waiting until the batteries are completely flat. If you use the scooter daily, connect the charger when you return home. If it is used less often, charge it regularly according to the handbook, usually at least once a month.
Store the scooter somewhere dry and sheltered where possible. Very cold conditions can reduce available power, while prolonged heat can shorten battery life. Keep tyres inflated to the recommended pressure too, as soft tyres make the motor work harder and use more battery power.
If you are putting the scooter away for a few weeks, do not leave the batteries discharged. A full charge before storage and occasional top-up charges will help protect them. For detachable travel scooters, make sure battery connectors are properly seated each time the scooter is reassembled.
When it is better to ask for support
Replacing batteries is not the right do-it-yourself job if the compartment is hard to access, cables are corroded, the scooter displays a fault code, or you cannot confirm the battery specification. The same applies if the scooter has a lithium pack or a sealed manufacturer-specific battery case.
Mobility Scooters UK can help customers identify suitable replacement batteries and discuss practical options for their scooter model. Getting the right pair first time is kinder on your budget and helps keep your everyday independence dependable.
A new battery should make your scooter feel ready for the journeys that matter, whether that is a quiet trip around the neighbourhood or a busy afternoon with family. Take the time to fit and charge it properly, and you can head out with greater reassurance.